One of the most common study tips for exam revision is for learners to do practice exams. These practice exams could be past papers that your school has used, past papers from the Department of Education or even practice exam questions such as the ones found in the Ace it! study guides.
We have recommended doing practice exams for all of the different learning styles, as they are a great way to get an understanding of what you can expect in the exams. For visual learners, they are a good way to write out what you know in a format that will suit the exam. For auditory learners, they present an opportunity to practise channelling what you know into an exam-appropriate format and, for kinaesthetic learners, they are a great way to revise because you’re actually doing something rather than just revising content. This can make the information stick in your mind more clearly.
Aside from this, what are the benefits of doing practice exams as part of your exam revision?
Well, first of all, they are a great way to familiarise yourself with the exam format. Each exam you write will have a predictable format. You need to know what this looks like before you walk into the exam room so that you feel less stressed and anxious. Doing practice exams will help you to understand how the exam will look when it is put in front of you, and it gives you an opportunity to practise answering the questions in a way that will score you the maximum number of marks. Most practice exams come with a memo, which you can use to mark your efforts – this will show you when you’ve answered too little, too much, too broadly or not broadly enough.
Secondly, practice exams can help you to understand the question words. So many learners know the content but fail to understand exactly what the question is asking them to do (this often applies to auditory learners in particular). Examiners are given a very clear marking memo, so it’s essential that you are answering the question correctly – not only in terms of the content but also in terms of what the examiner wants to see. For example, if the question asks you to “List…” you should not write a descriptive paragraph. Working with practice exams and their memos can help you refine this skill.
Lastly, practice exams can help to show up any gaps in your exam revision. You may think that you have covered all of your bases only to find that you actually don’t know enough about a particular topic in order to be able to answer questions on it in the exam. It’s essential that you build in time on your study timetable to do practice exams. Try to avoid doing this the day before the actual exam though, because that will not give you enough time to self-correct and go back to a particular section.
As you can see, practice exams are an essential part of exam revision. That’s why every Ace it! study guide contains practice exam questions.
When the exams are over and the results are in, you may feel one of two ways about your child’s report card: thrilled or underwhelmed.
If you feel thrilled, then good for you! Clearly your child’s hard work is paying off. However, if you’re not satisfied with the results and can’t help feeling, well, a bit disappointed, it can be difficult to contain these emotions in front of your child.
Here are some tips on how to handle your child’s exam results, whether they are excellent or not so excellent.
Consider how your child is feeling about their poor results
Before you react to your child’s poor exam results, consider how they are feeling. It’s no use piling on the negative sentiment if they’re already a bit down in the dumps. Tell your child that you will need to have a discussion about the results but put it off for one more day. Then spend the day commiserating and just being there for your child. One more day won’t make a difference, and right now your child needs to know that they have your support.
Have a meeting
Set a time and date to meet with your child in a neutral spot, such as the kitchen or dining room table. A coffee shop or restaurant is even better. Once you and your child are settled, ask them to explain to you how they approached their exam revision and where they feel they went wrong. Try not to interrupt and certainly don’t interject with disparaging or negative comments.
If it seems clear that your child put no effort into their exam revision, then you will need to find a way to motivate them to do better. Perhaps this is where trying to find a different approach to studying is a good idea. Explore the possibility that your child is unmotivated because they are struggling to keep up or bored… Investigate study techniques that are suited to different learning styles.
If your child tells you that they tried the best they could, believe them. In a case like this small tweaks to a study routine might be the answer. Ask how the actual exams went – many children do just fine throughout the school year only to find the high-stress exam days challenging. Writing exams is a skill that anyone can learn.
The Ace it! study guides includes information and study tips that can help your child find a study method that works best for them.
Don’t have tunnel vision
Getting a solid education is absolutely essential, there’s no doubt about that. However, it’s not the only marker of success. A child’s self-esteem is sensitive – be proud of the things that your child is good at, and try not to be overly critical about the things that they aren’t so good at.
A child with a good self-esteem can do much better than a child with a low self-esteem.
Your child may be good at sports, have artistic flair or be excellent at working with their hands. Focus on your child’s loyalty, kind heart and good manners. Don’t be so easily frustrated with them; rather focus on how hard they try and how they continue to persevere.
You clearly have big dreams for your child, and this makes you a good parent. Try not to impose your own wishes and dreams onto your child, and to rather help them achieve their own.
Of all of the different learning styles, the visual learning style is the best suited to traditional exam revision methods, such as mind mapping. Visual learners will respond well to these colourful summaries of the content. This is not to say that auditory learners and kinaesthetic learners shouldn’t use mind maps; they can actually be pretty effective for you too.
A bad mind map is useless and ineffective. It’s important to know how to develop them properly, or they’ll just be a waste of time and paper.
Here are some tips to help you learn how to mind map so that you don’t waste time or paper.
Firstly, gather your tools. You will need:
Sheets of plain paper (A3 if you can get it, otherwise A4 will do)
Black marker
Black pen
Different colour pens OR highlighters OR pencil crayons
Sticky notes
The most important thing to remember about mind mapping is that it is a way to see the main ideas/components of a section at a glance, and how those ideas are connected.
Start by reading through the section you want to summarise, and making a note of the main ideas.
Draw your mind map with these ideas in mind.
Now, read through the section again. For each of the main ideas, you should identify related ideas.
Using a black pen, jot these down on your mind map.
Now, set aside your textbook or notes and focus on what you know or remember about the content. Using different colours, make notes for yourself, write examples that illustrate the point, draw doodles that help to explain things and connect different ideas. You can also use sticky notes to add more examples or to test yourself.
Your mind map is now complete! If you are a visual learner, you can simply use your mind maps as visual reminders of the content. If you are an auditory learner or a kinaesthetic learner, use your mind map to explain the content to a friend or helpful parent or sibling.
The word ‘auditory’ relates to the sense of hearing. We know that people have different learning styles and that people with an auditory learning style learn best through hearing. This means that you’re able to absorb information by listening to it – this works great in a classroom environment where your teacher is explaining the content.
The downside to being an auditory learner is that silence can be distracting! It is almost impossible for an auditory learner to absorb information by sitting in a silent room and reading notes.
Have a look at this blog post with study tips for auditory learners, including starting a study club and studying somewhere where you’re able to make a bit of noise.
If neither of those are options for you, then consider studying with music. Because you’re an auditory learner, you’re bound to be distracted by lyrics and complicated musical compositions so it’s important to find the right music to study to. Think background noise, rather than the main act at a concert.
With a good library of studying music, you can pop your headphones on in a quiet library or room and make it easier to focus. You could even experiment with reserving certain playlists for specific subjects: the familiar music might jog your memory the next time you pick up where you left off.
Here are some tips for choosing the right music to study to (as well as where to look):
Choose instrumental music, rather than music that contains vocals.
The music should verge on boring. In other words, if you would be unable to listen to the musical piece when you’re not studying, then it’s probably a good bet.
That said, you shouldn’t hate the music. Don’t choose something that is completely off-putting – it should make you feel relaxed, not on edge.
Classical music by maestros like Beethoven, Chopin, Mozart and Tchaikovsky are a good place to start. If you can’t bear these compositions and want something instrumental but modern, then try musical scores from movies by composers like Hans Zimmer and Thomas Newman.
Don’t play it too loud. The music should fade into the background, rather than dominate your thoughts.
If you find music distracting then try nature sounds such as the sound of the ocean, whale and dolphin calls, etc. The idea is for the music or the sound to provide white noise so that you aren’t distracted by silence. These nature sounds (often used for meditation) can be very calming and non-intrusive.
Try searching for ‘Study Music’, ‘Meditation Music’, ‘Meditation Sounds’, etc. on Apple Music or YouTube. If you’d prefer music scores, try Hans Zimmer, Thomas Newman, Danny Elfman, Howard Shore and Alexandre Desplat. These are the most famous movie score composers but there are plenty more. Find a few that you like and enjoy!
You’re well on your way to understanding your own unique learning style. Keep experimenting until you find what works for you and there’s no doubt that you’ll ace your exams!
This is the last post in a three-part series, where we explore study techniques for the three main learning styles. If you aren’t sure what your unique learning style is, click here to find out. If you are a visual learner, click here for study techniques to suit that learning style. And if you are an auditory learner, click here.
So you’ve done the quiz and you’ve figured out that you have a kinaesthetic learning style.
To recap: People with a kinaesthetic learning style learn best when they are able to manipulate, engage with or actually do the thing that they’re learning about. If you find that you’re unable to fully grasp content unless you can touch and explore it, then you’re probably a kinaesthetic learner.
Here are some study techniques that you could try. These techniques help kinaesthetic learners to make sense of content and concepts by making sure that your brain engages with information in a way that it can process.
Do something while you study
Because you are easily distracted, it’s a good idea to do something while you’re studying. Fidget spinners are the latest trend but a good old-fashioned stress ball or simple elastic band will also do the trick. You could also take your notes to the gym, and try to get some studying in while you’re walking on the treadmill. You could also just pace up-and-down wherever you are studying.
The point is that your attention needs to be on your study notes, so calm your inner fidget by giving it something to do while your brain focuses on the important stuff!
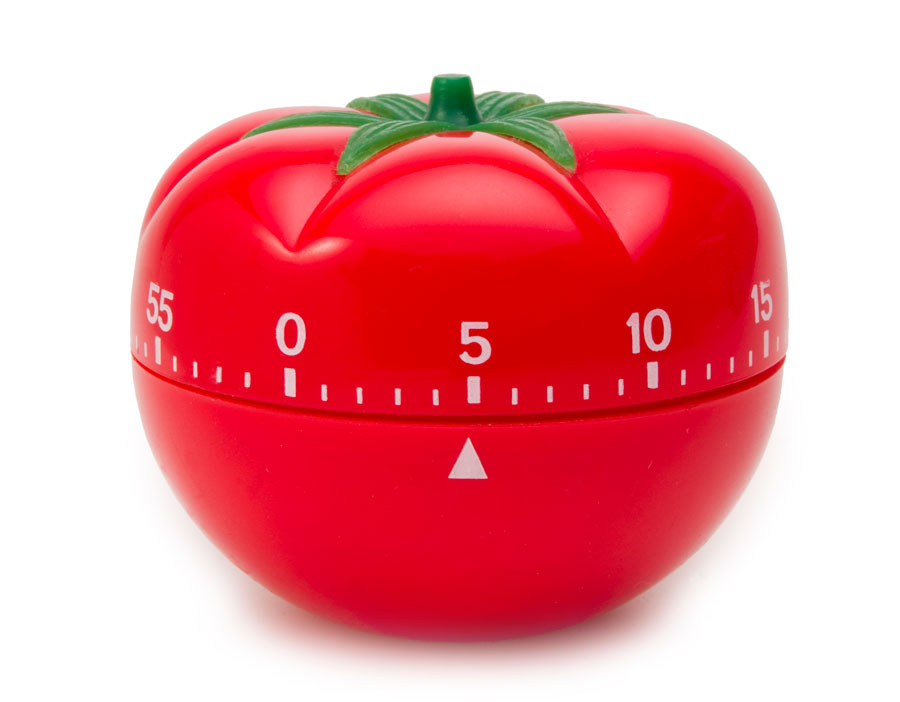
Practise HIST (High Intensity Study Intervals)
Because you are easily distracted, it’s no use trying to get a straight four hours of studying in. You will only end up frustrated. Rather study in short but effective bursts. This gives you an opportunity to focus on the task at hand, knowing that a 5-10 minute break is coming up.
Set a timer for 25 minutes and use the 25 minutes to give your revision all of your energy and attention. Once the buzzer goes, set another timer for 5-10 minutes (no longer!). Use this time to do whatever you like – make a sandwich, make a call or take a quick swim. Then go back and do another round. Do this until you’ve hit your study target for the day.
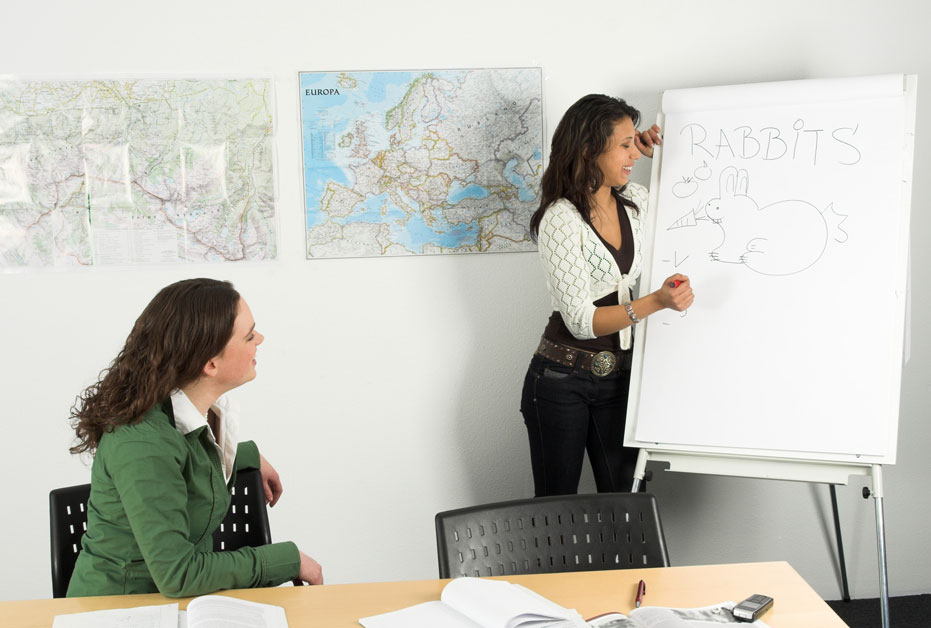
Prepare a presentation
Pretend that you are the only person in your class that has received the study notes. It is your responsibility to teach the content and skills to the rest of your class. Prepare a presentation on what they need to know. Use any presentation aids that you choose: PowerPoint, flipcharts, flash cards, etc. The act of putting the presentation together will help to solidify the content in your mind.
Take a look at this post: Tips for auditory learners, where we discuss putting together a study club. A study club is the perfect audience for a presentation like this. And, best of all, you’ll be helping learners with different learning styles (like an auditory learning style) at the same time too!
Watch videos and tutorials online
Long written descriptions will probably bore you, and you will end up not fully grasping complex content and concepts. Use YouTube and other reputable educational websites to find explanatory videos. This will go a long way to helping you decode the content.
It is also a good idea to look for online tutorials on DIY projects. This method won’t necessarily suit all of your subjects but you may be surprised how many fun and interesting projects there are online to help you with your learning. An example might be to build a DNA model to help you understand the helix structure (Life Sciences).
(We have a full post on study techniques using technology coming up on the blog so look out for that.)
Use rhythm and rhyme
(This study technique is also suitable for auditory learners.)
Mnemonics (pronounced ni-mon-iks) are a great way to remember lists of facts or information, and are ideal for kinaesthetic learners because the act of making something up yourself often makes it easier to remember. Have fun making up your own mnemonics to remember certain facts.
For example, a good way to remember the three main learning styles might be to remember this rhyme: Vuyo Kicks Ants. (V = visual, K = kinaesthetic, A = auditory)
TIP: Try not to depend on mnemonics too much as a study technique, as you may end up forgetting which mnemonic to use!
How to use your Ace it! study guide
Hopefully this post has given you some good ideas about study techniques to use when you’re a kinaesthetic learner. Don’t forget that the Ace it! study guides have all the content you need to know for your exams.
Here’s how a kinaesthetic learner can use the Ace it! study guides to their best advantage:
Use the practice exam questions. Practice exams are a great tool for kinaesthetic learners.
Prepare your own quiz based on the content in the study guide.
Use sticky notes to remember which mnemonic to use for which section. And sing/chant your mnemonic out loud with actions and clapping for maximum impact!
This is the second post in a three-part series, where we explore study techniques for the three main learning styles. If you aren’t sure what your unique learning style is, click here to find out. If you are a visual learner, click here for study techniques to suit that learning style.
So you’ve done the quiz (or read the previous blog post about different learning styles) and you’ve figured out that you have a visual learning style.
To recap: People with a visual learning style learn best when they can see what they are trying to learn. If your notes are colourful and you like to doodle in the margins, then you’re probably a visual learner.
Here are some study techniques that you could try. These techniques help visual learners to make sense of content and concepts by forming ‘pictures’ that your mind can then file away, ready to be whipped out when you need it most: in a test or exam.
Take notes in class
This might sound obvious but it’s an old school way to make sure that you remember what you’ve learnt in class. Too many people try to simply listen to what the teacher is saying, and then find that they can’t remember anything as soon as the class is over!
As a visual learner, you may also find your thoughts drifting if you try to listen without taking any notes… Taking notes is a skill: Don’t think that trying to write down every word that the teacher is saying is going to help you either. You’ll lose track and end up missing something if you try to do that.
There are five main note-taking techniques that you can use during a class:
The Cornell Method: Divide your page into two columns. In the right-hand column, write down the concepts being taught. In the left-hand column, write down questions or cues relating to the content. This forces you to engage with the subject matter.
Outlining method: Use bullet points or indenting to show the main themes, and then the sub-themes under each main theme.
Flow method: This is a freestyle method where you simply take notes in whatever format feels best to you at the time. You can use arrows, stars and pictures in this method to connect ideas and concepts.
Here are two excellent YouTube videos about note-taking skills. The first explains the three main methods, and how to use them, and the second shows you how to make your notes colourful and exciting to look at and use (perfect for visual learners!):
TIP: If your teacher doesn’t approve of note-taking during class (we all have a teacher who says “You don’t need to write, it’s all in the hand out”), try speaking to him or her about it after class one day. Show your teacher the kind of notes that you would like to take, and explain that you think that you’ll be able to grasp the content much better if you’re allowed to write notes during the class. If your teacher is still unsure, then try to write as many notes as possible in the time between classes or straight after school.
Mind maps
There’s nothing new about mind maps. It’s a study technique that’s been around for ages, and you’ve probably seen them before. Perhaps a teacher or adult has even tried to teach you how they create mind maps. Whether you’re a mind map expert or a mind map novice, this much is true: Mind maps are a visual learner’s best friends.
The trick with mind maps is to only include the most important information (so don’t try to include everything in your History textbook). Mind maps should be as colourful (or not) as you want them to be. Use highlighters, different colour pens, wax crayons, pencil crayons and sticky notes to really make them stand out. You can also use pictures to really solidify concepts or ideas in your mind – either draw them yourself, or cut-and-paste pictures and articles from newspapers, magazines and the Internet.
If you’re worried about running out of space, try to get hold of A3 sheets of paper. You can even use sticky-tape to make a bigger sheet of paper from four A4 sheets.
(We have a full post on creating mind maps coming up on the blog so look out for that.)
Look for pictures, demos or videos in the library and online
Are you excited when you turn a page of your textbook in the middle of a complicated section and see an annotated diagram because, finally, you’ll be able to understand what all those explanations are about? It’s pretty obvious that if you’re a visual learner you’ll need to actually see something before you fully understand it.
Unfortunately, you may not always have a picture, photograph or video in your textbook or learning materials to explain everything. And, even if there are pictures, they may not be clear enough for you to really get it.
This is where the Internet and your school’s library will come in handy. You’ll be able to find illustrations and photographs, and even videos in some cases, for almost anything.
So when your textbook describes a Blue Crane as a tall, ground-dwelling bird that is about 120 cm tall with a wingspan of about 200 cm, look it up! You’ll get a much better idea of what a Blue Crane is when you actually see a picture of it. Better yet, search for a video on YouTube, where you can see the Blue Crane walk and hear its call.
Just be careful while you’re online – be smart and stay safe. And only trust reputable websites because not everything on the Internet is true.
(We have a full post on study techniques using technology coming up on the blog so look out for that.)
How to use your Ace it! study guide
Hopefully this post has given you some good ideas about study techniques to use when you’re a visual learner. Don’t forget that the Ace it! study guides have all the content you need to know for your exams.
Here’s how a visual learner can use the Ace it! study guides to their best advantage:
Use highlighters to highlight key concepts.
Take notes in the margins.
Use sticky notes to mark off sections, or to write notes for yourself.
Ace it! study guides are logically organised and broken into sections. Translate each section into mind maps or charts to revise what you need to know.
If you’re an auditory learner, then look out for our next blog post.
Some people love pineapple on their pizza, while others can’t stand the thought. Some people like hip-hop, while others prefer pop music. Boxers or briefs; bikinis or a one-piece; Marvel or DC Comics… why is it that we accept people’s differences in almost every aspect of life, and yet think that every high school kid learns and studies the same way?
We’re all wired differently, so it’s no surprise that we have different learning styles. Here’s a secret: if you can figure out your unique learning style, you’ll be able to learn better, study smarter and do better in your exams.
Your teachers might not have the time to adapt how they teach to suit every single person in the class but, if you know your own learning style, you can empower yourself to revise the content in a way that makes sense to you.
More efficient revision = Better grasp of the content = Easier studying sessions = Better exam results!
Take a look at the three main learning styles below, and try to figure out which describes you best. If you’re not sure which you are, try to work it out by deciding which study technique you prefer. If you still can’t work it out, there’s a handy quiz in every Ace it! study guide.
The auditory learning style
If you are an auditory learner, you probably learn best when you hear what you are trying to learn. You’re the kind of person who actually listens in class, and remembers what the teacher has said. You’re also the kind of person who talks to yourself (we’re not judging) and reads things out loud when you’re trying to understand them.
Recommended study technique: Reciting study materials.
The visual learning style
If you prefer using a map to following written instructions or if you have a pencil case full of highlighters, you’re probably a visual learner. In order to understand something, you need to see it or observe it. You prefer using colourful charts, pictures or diagrams to study. You also prefer to use visual aids when you’re giving a presentation.
Recommended study technique: Mind mapping and highlighting key facts.
The kinaesthetic learning style
Let’s break down the word ‘kinaesthetic’:kinetic, as in movement and aesthetic, as in the senses. You need physical experiences to help you make sense of new information. You’re probably fidgety in class and wish that teachers would let you do, rather than just telling you. If you’re really interested in a subject, you can learn more about it in two hours of doing, fiddling, interacting, researching and exploring than a teacher can tell you in a week of classes.
Recommended study technique: Role-playing or model building.
Remember that you can be a combination of two or three of these learning styles and that it might change depending on the subject. So, you might prefer a visual study technique for most subjects but kinaesthetic study techniques for Technology or Physical Sciences. You just have to try to understand yourself better so that you can do better.
Once you know your learning style, you’ll be ready to ace your exams!